Droplink Replacement Guide
Posted: Mon Feb 20, 2012 8:42 pm
There was a very annoying clunky noise coming from the front of my car recently, it was the drop links, so this morning i stopped off at the motor factors and got a pair of QH drop links for £20.60.
Before replacing them the car sounded like this:
6c1r869BV3o
Tools Required to do the job:
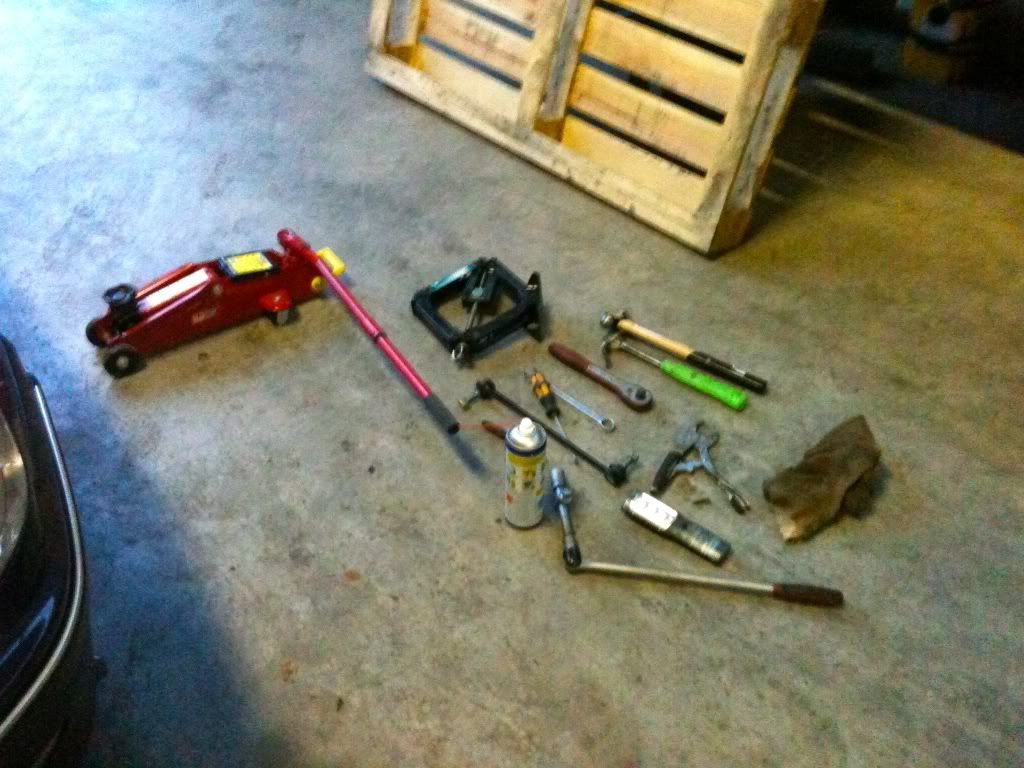
that lot did it, although if you have an impact wrench its much easier, a ratcheting spanner is probably quicker at putting it back on.
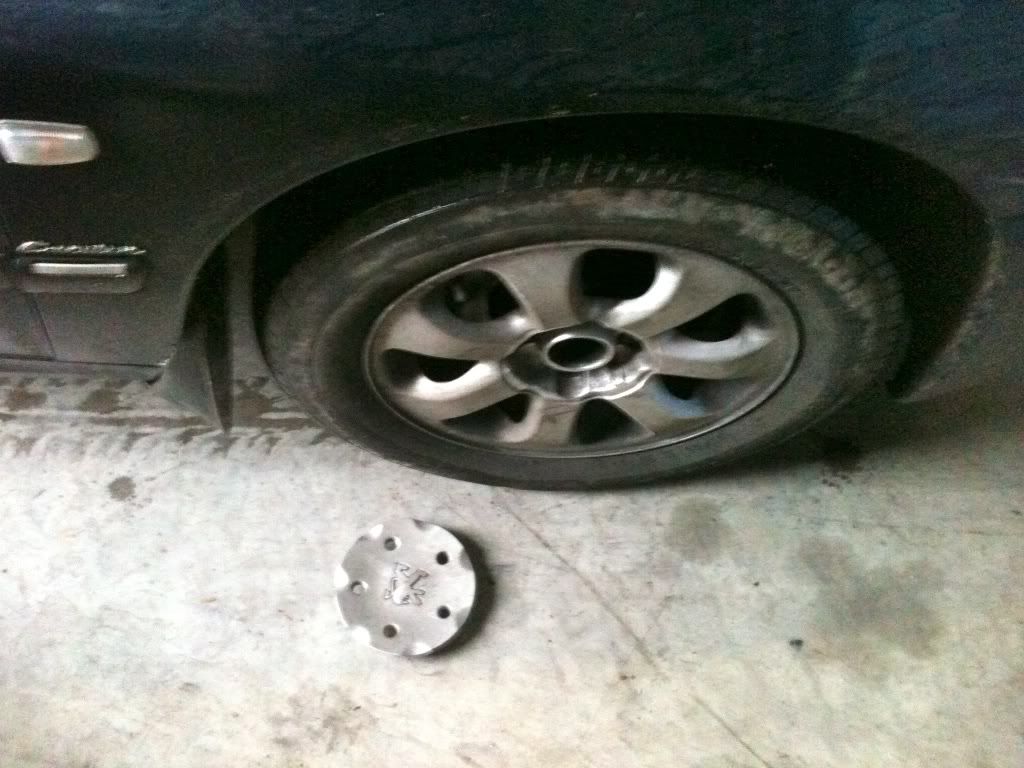
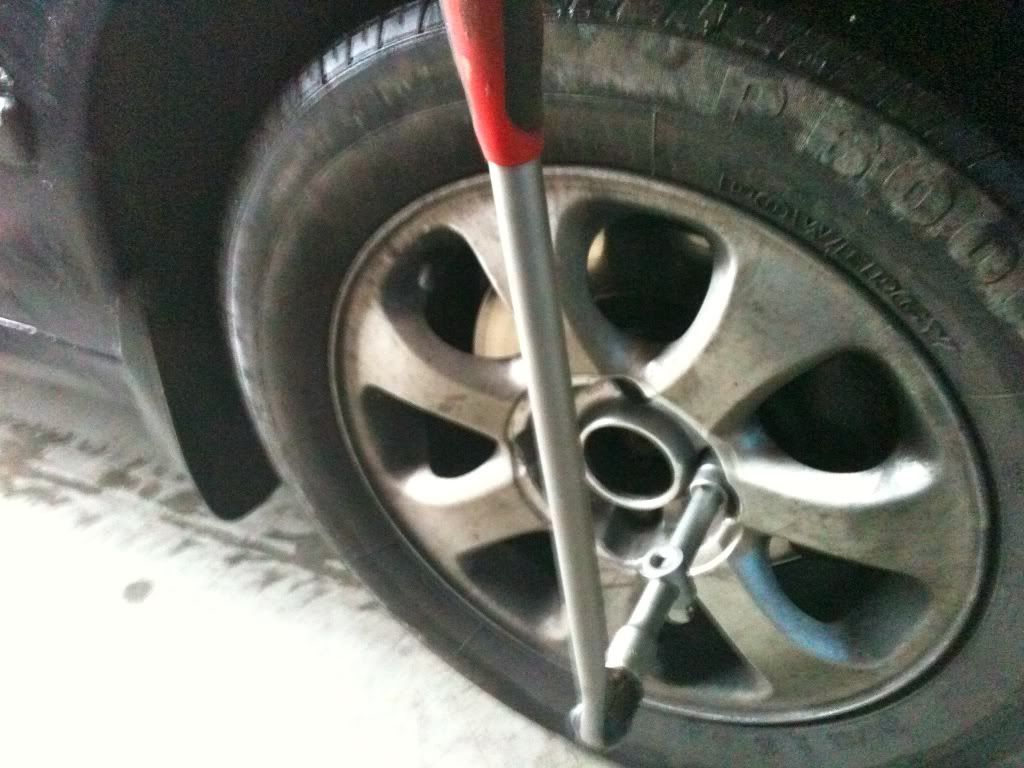
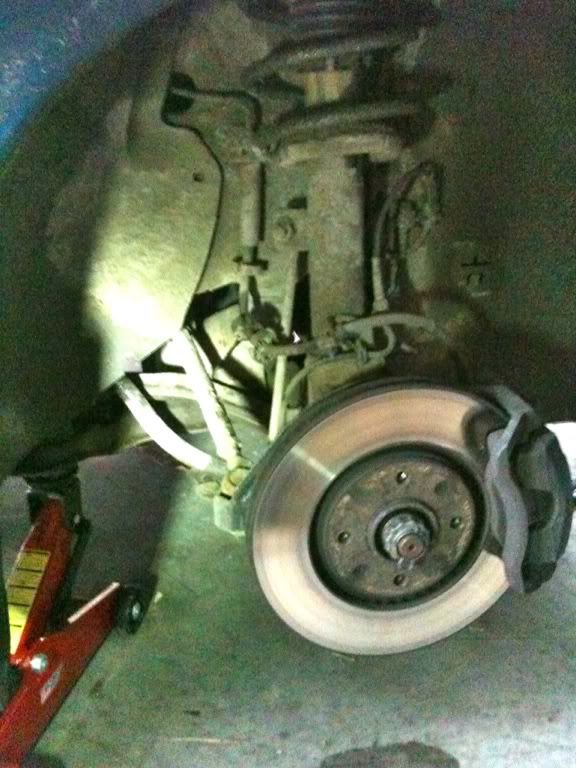
The first thing to do is remove the wheel which is held on with 4 19mm nuts:
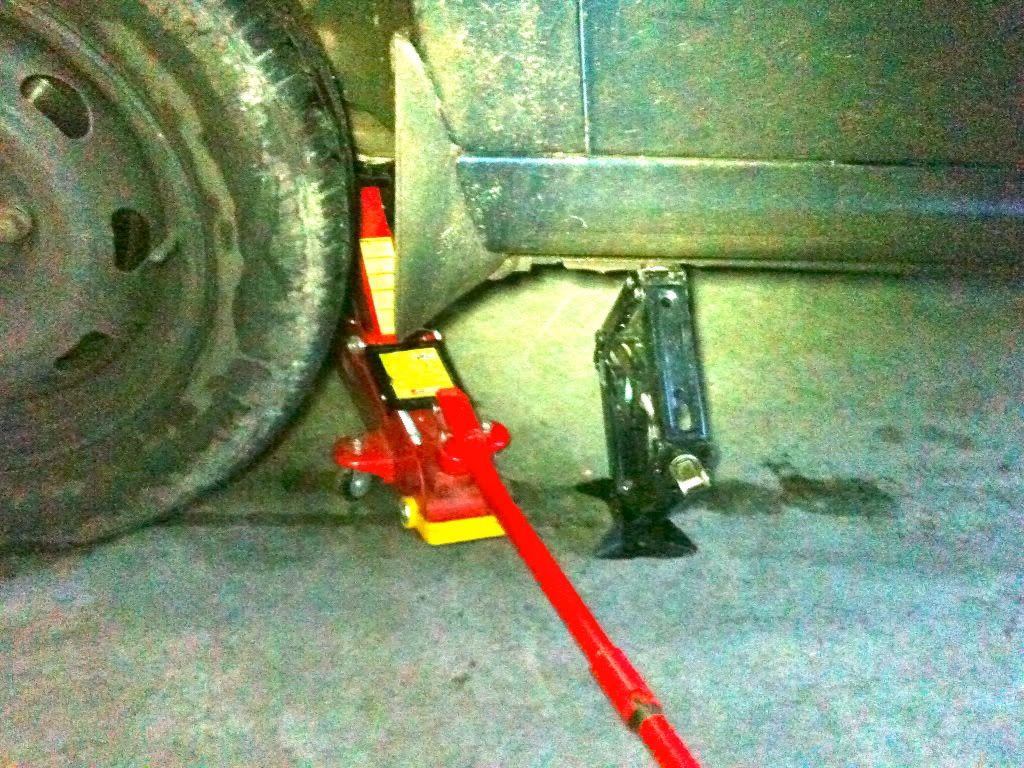
I jacked the car up with the lidl car jack which i don't trust so the jack from the boot is also being used as a backup, i couldn't use the jackstands since they are under the suzuki right now:
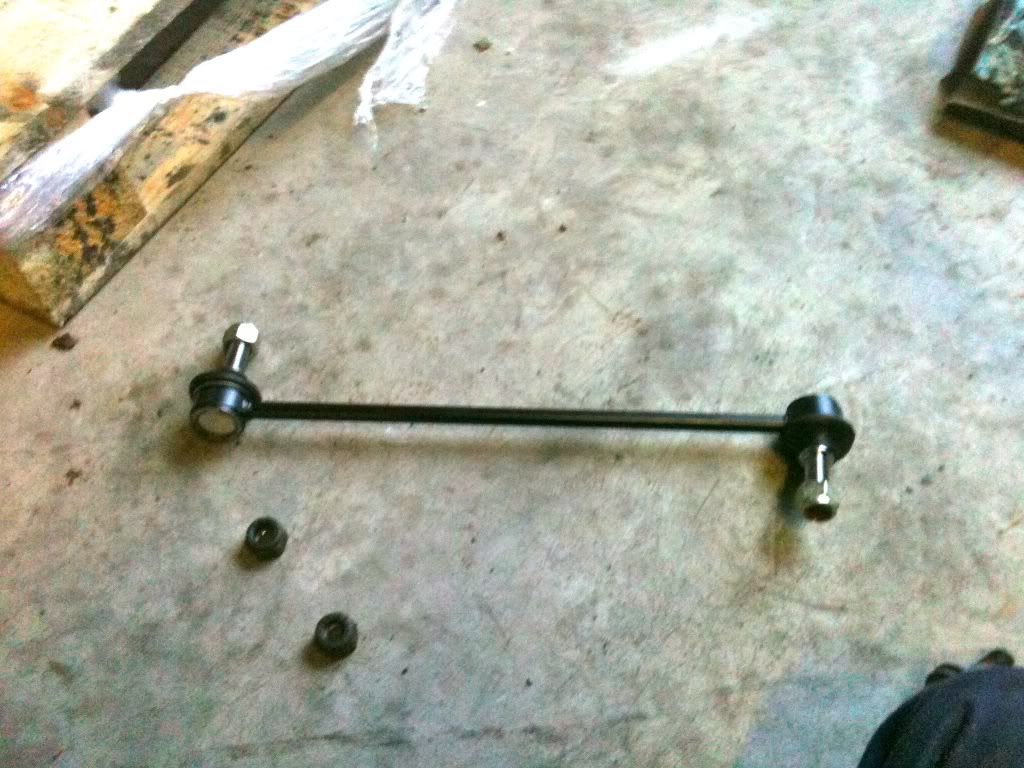
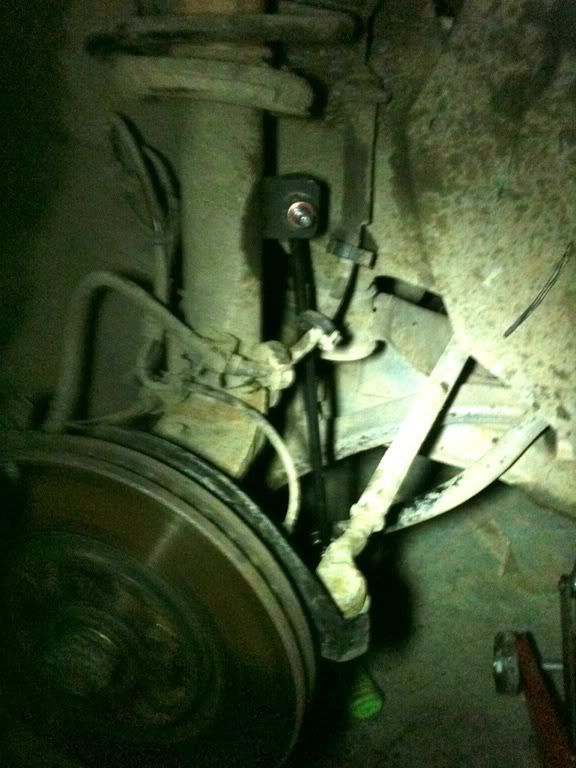
Here is the drop link:

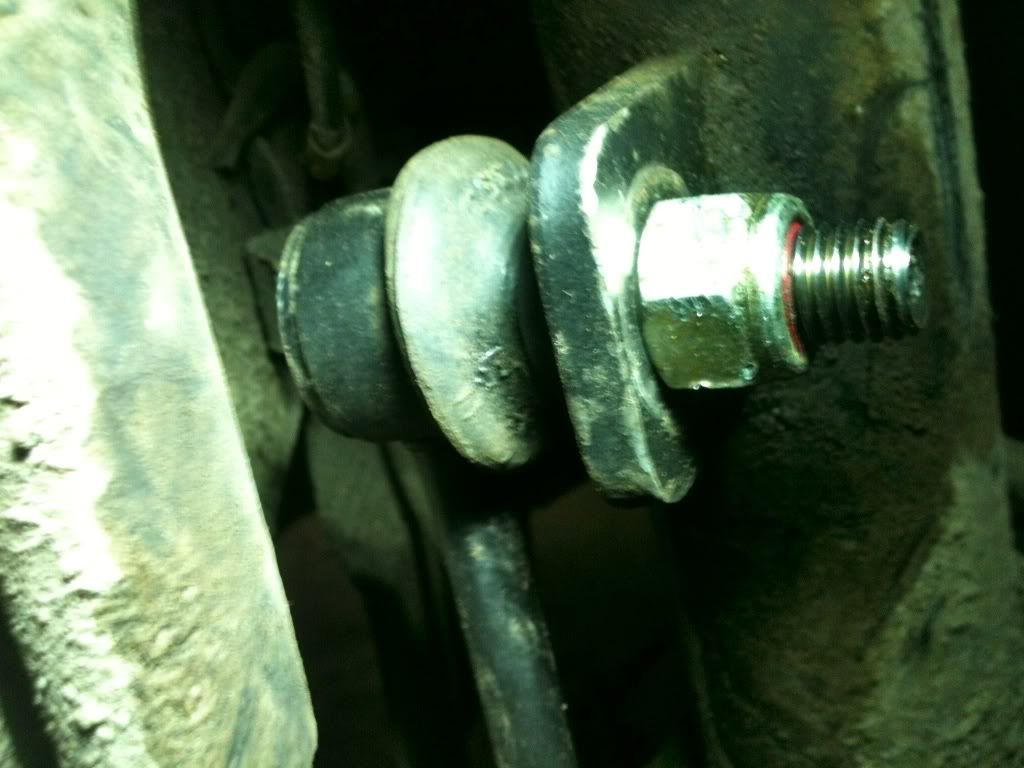
Then spray WD40 onto the two nuts holding in the drop link:
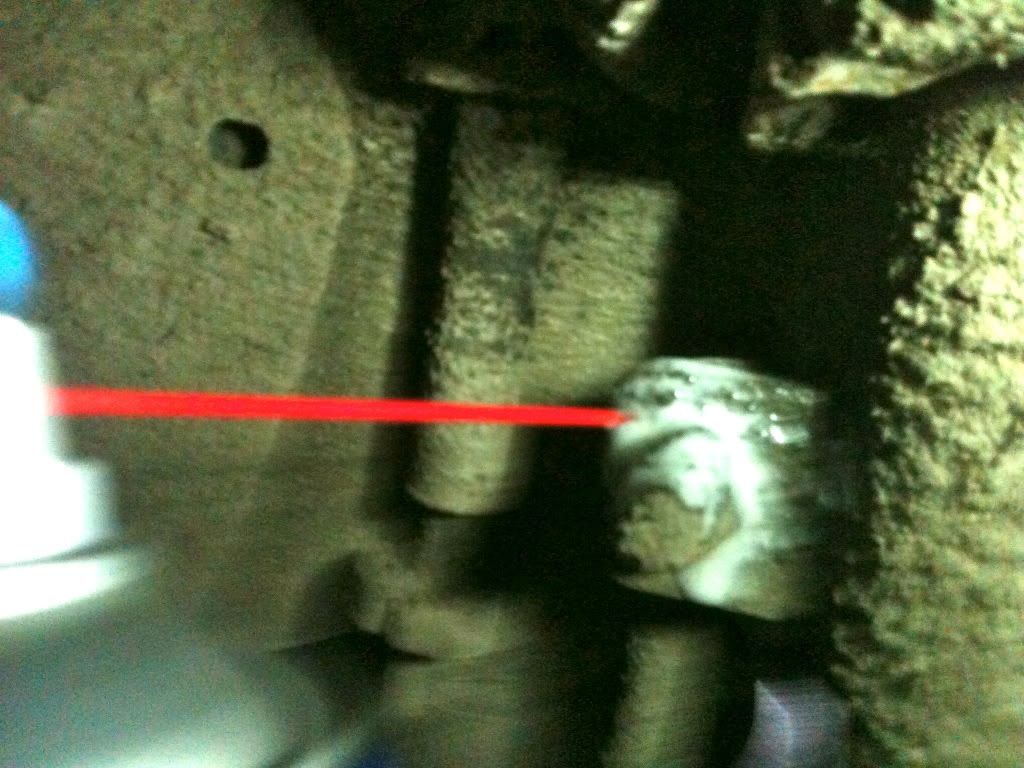
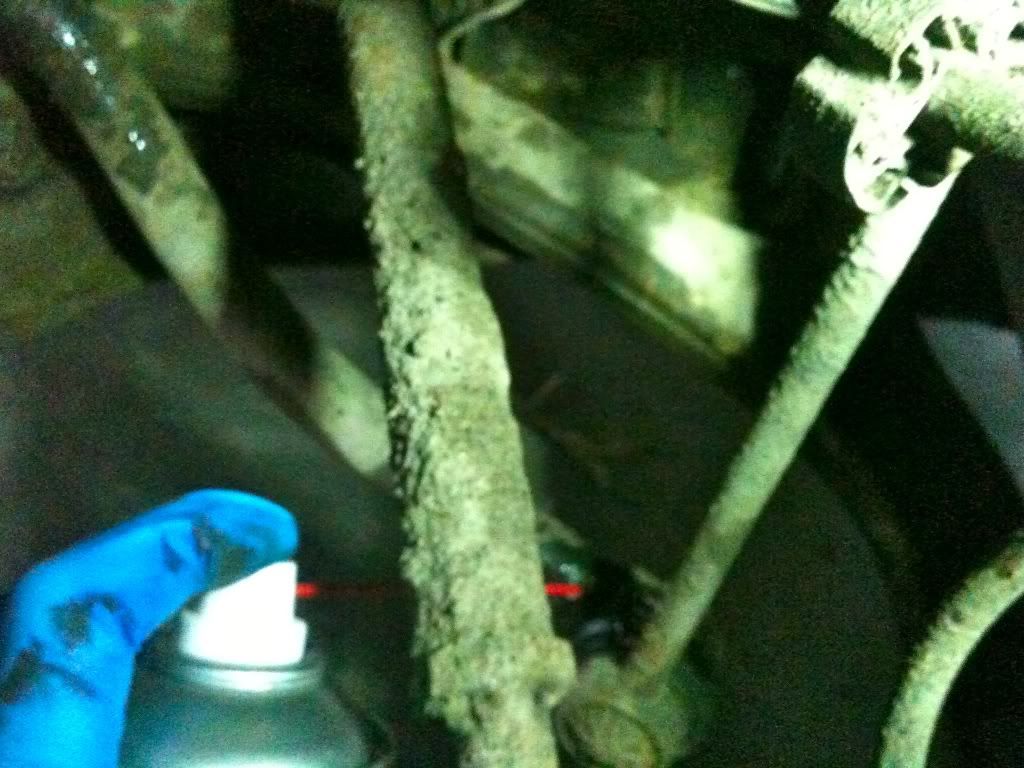
at this stage giving the nut a few blows with a hammer before loosening it makes it easier to remove it.
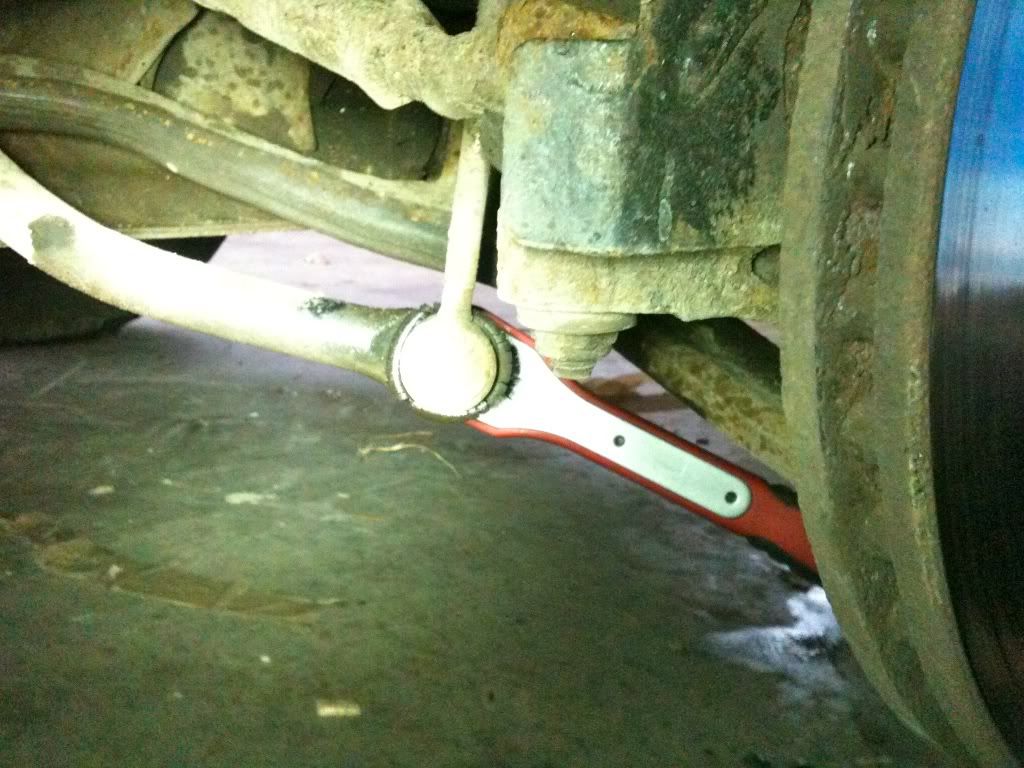
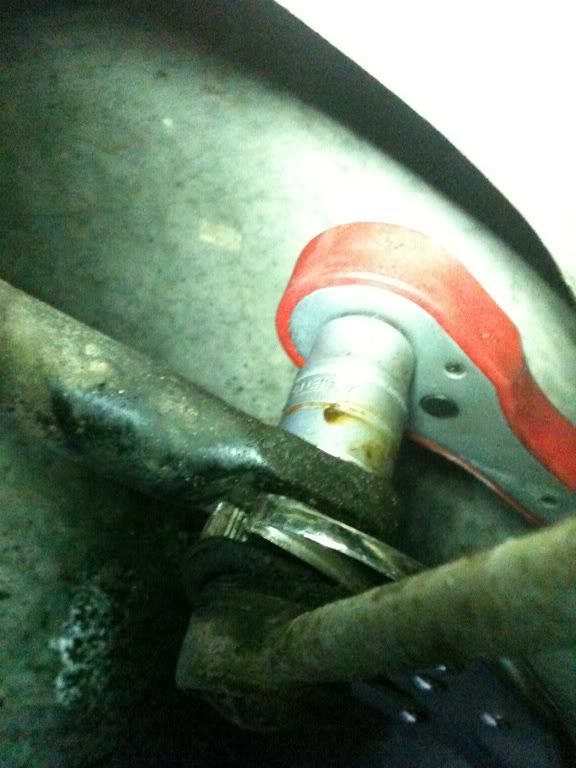
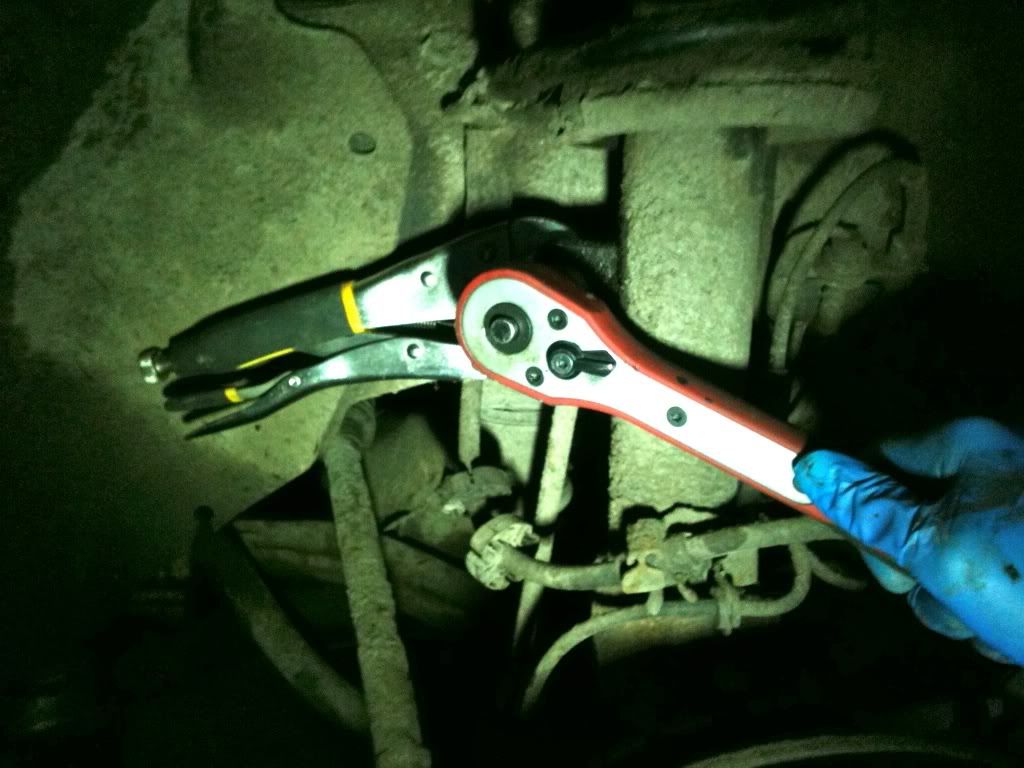
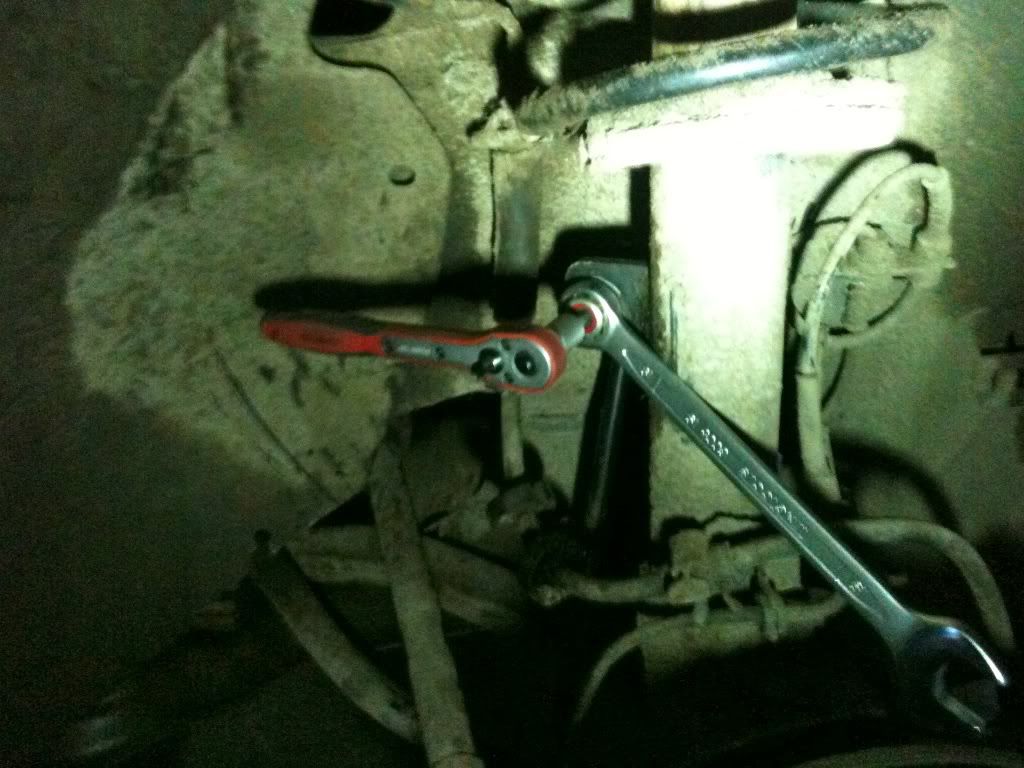
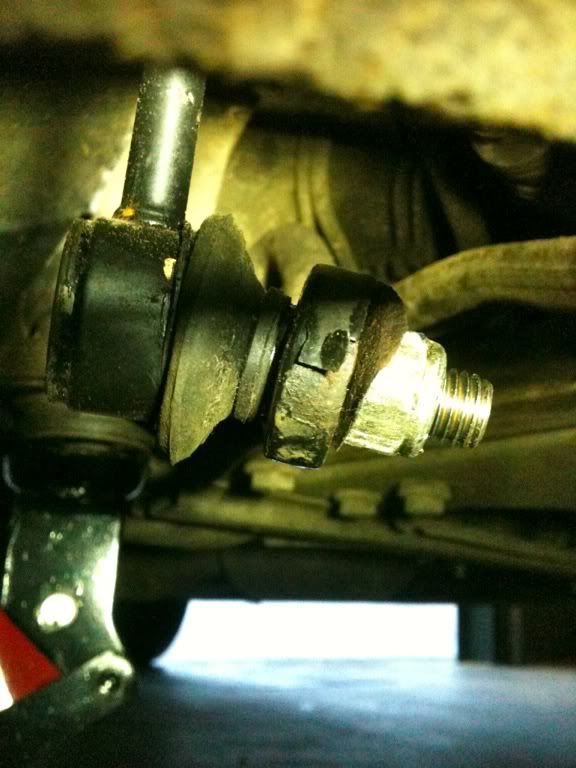
Put a 19mm socket onto the nuts and release them:
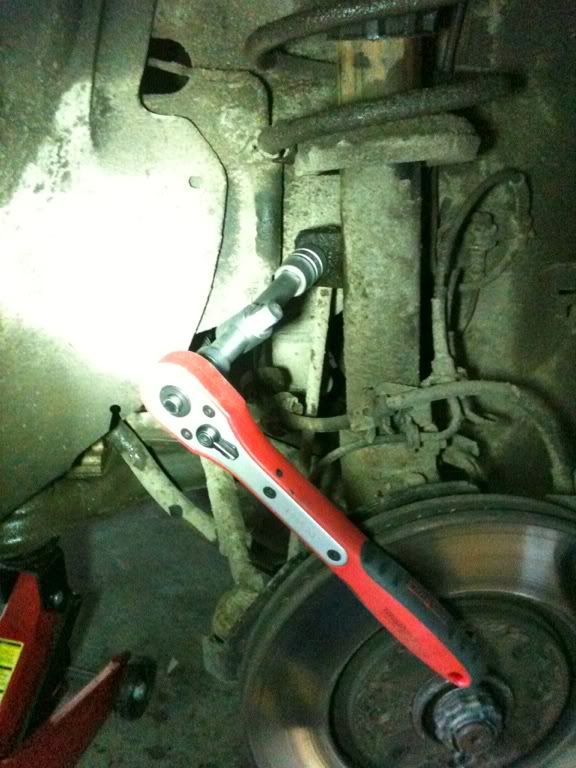
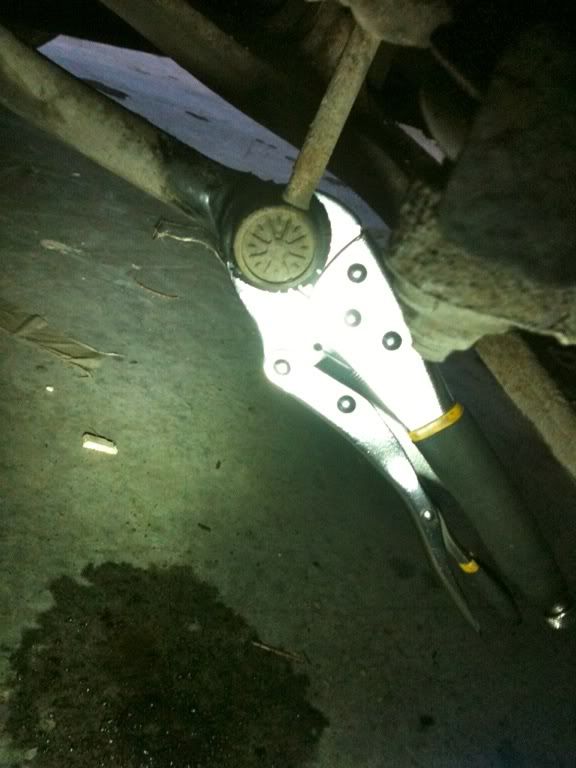
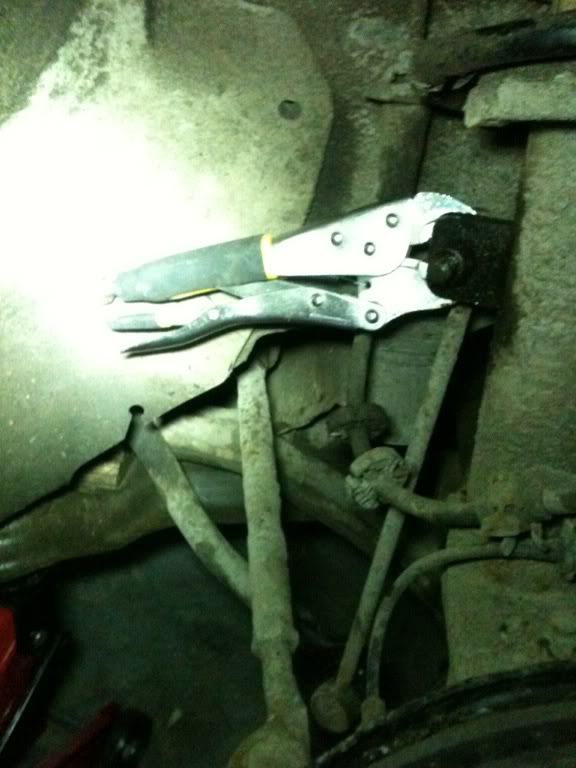
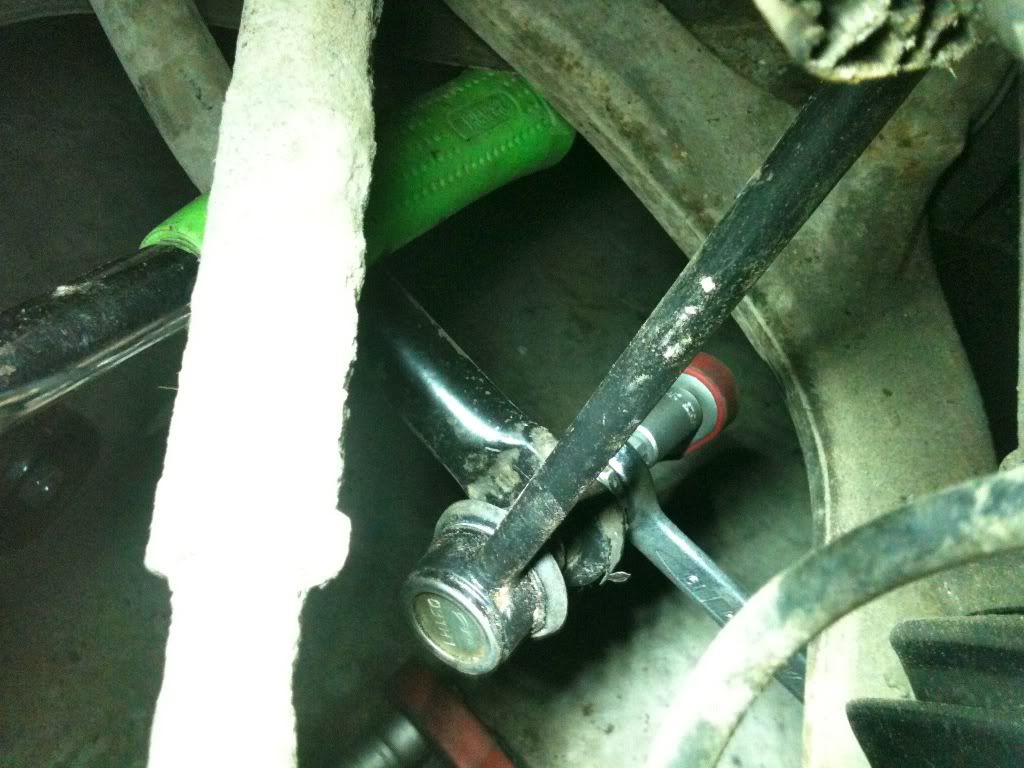
They dont take long before they start spinning, in which case its best to get a pair of vice grips in the back and clamp the threaded bit while undoing the bolt:
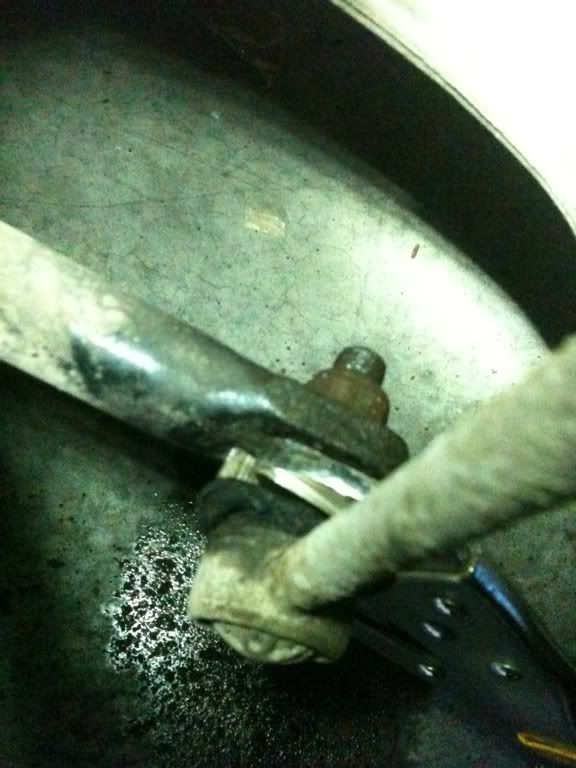
A bit of effort and they should come off, it helps to put more WD40 on while taking the nut off to keep it spinning easy, an impact wrench at this point would probably make it much easier, although i don't know if it would need the vice grip aswell.
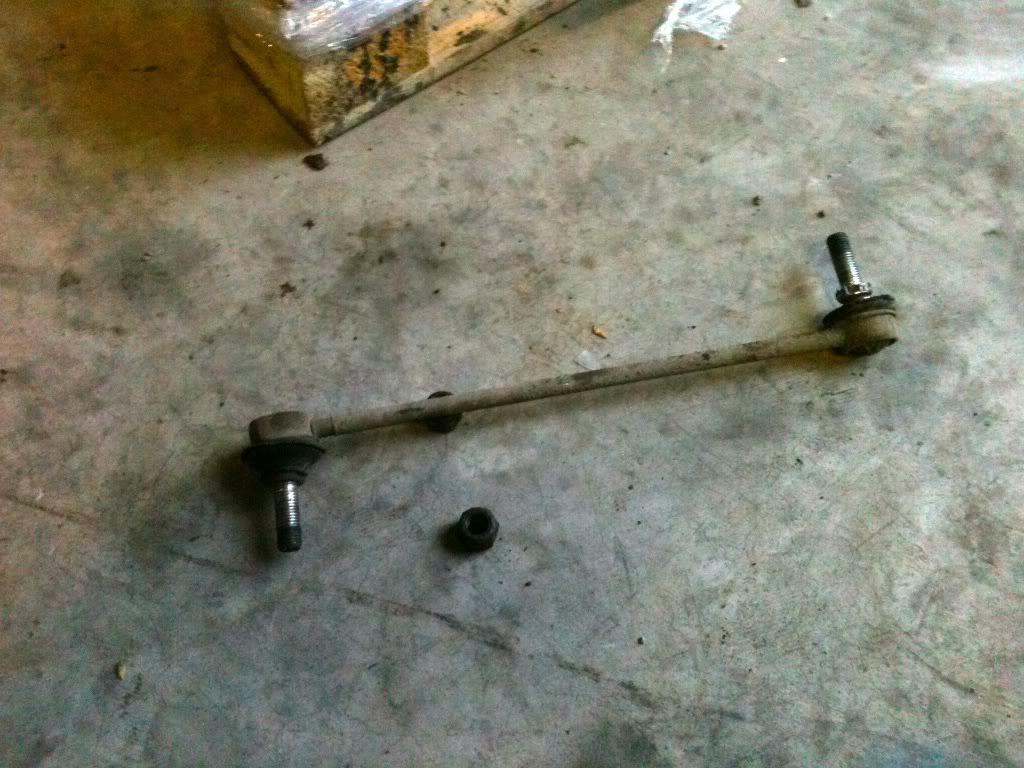
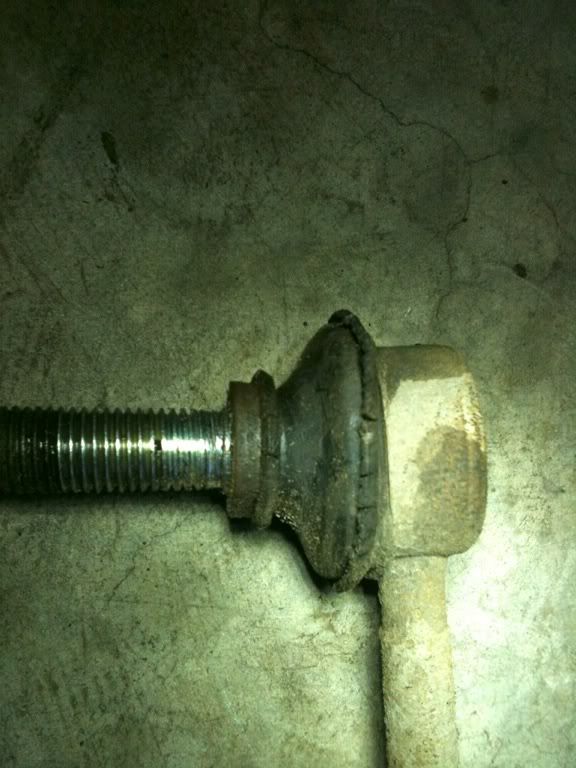
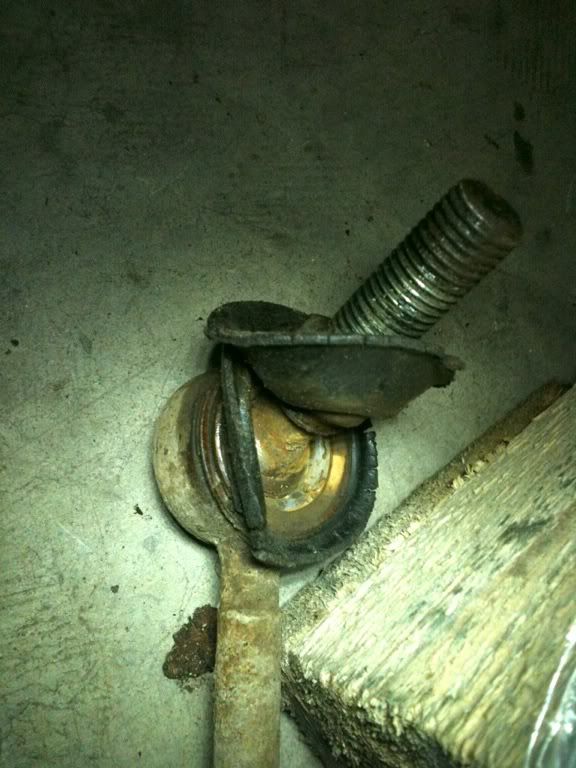
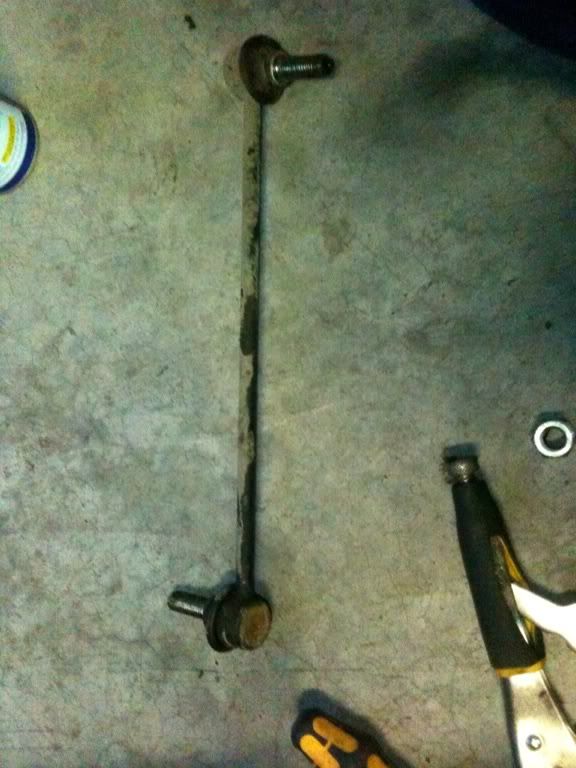
Once the two bolts are undone, the drop link should come out, it might fall out or take some persuasion with a hammer, it doesn't really matter if it gets damaged because this part is for the bin, it seemed to be the drivers side one that had the problems, the seals were worn away:
Now get the new drop links:
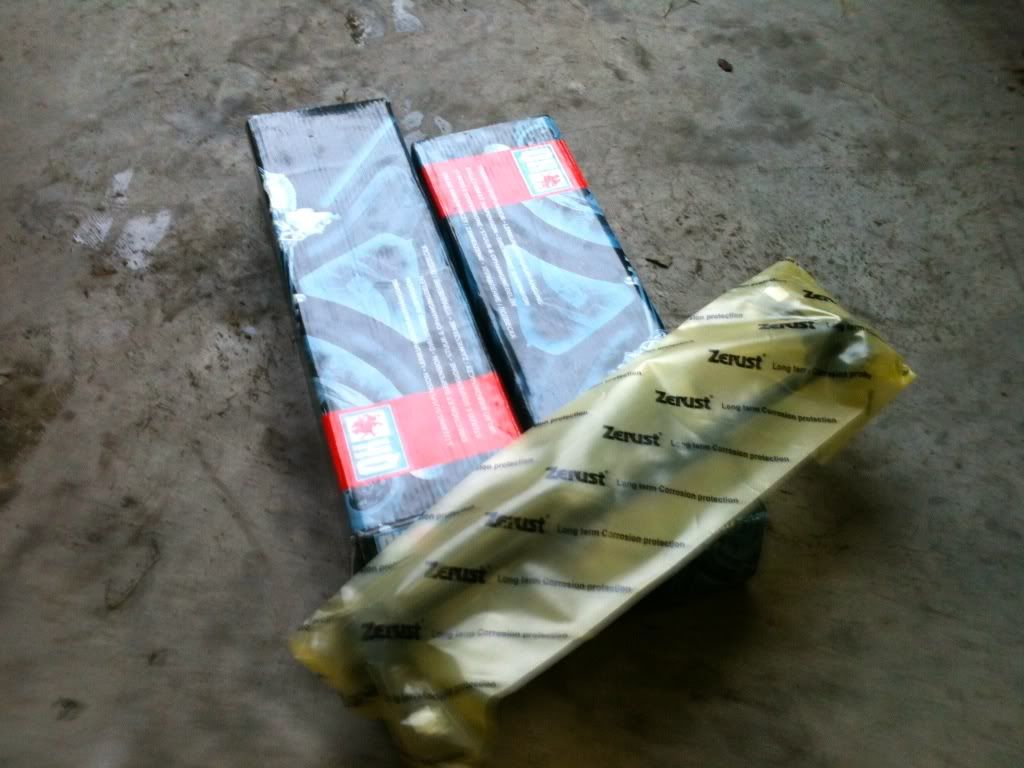
these are QH part number QLS3256S, Equivilant 863084
Clean the holes the drop links go into with an old rag, then put it in, there doesn't seem to be a left or right, nor is there a top or bottom to the shape of the drop links thats one less thing to worry about, you can choose weather you want to put the bottom end in first or the top it makes no difference really, except the bottom one where it connects you can push it down a bit to help it fit, get it in anyhow and then tighten the nuts.
When tightening them they will spin the same as they did when going in, but i didn't want to use the vice grips that would damage the seal, conveniently there is a hole in the middle that accepts a hex bit or allen key, so i put a hex5 bit on the end of the 1/4 ratchet and tightened the bolts up with a spanner:
a ratchet spanner would be really handy here, the 1/4 ratchet could have tightened it up but i didn't want to break it.
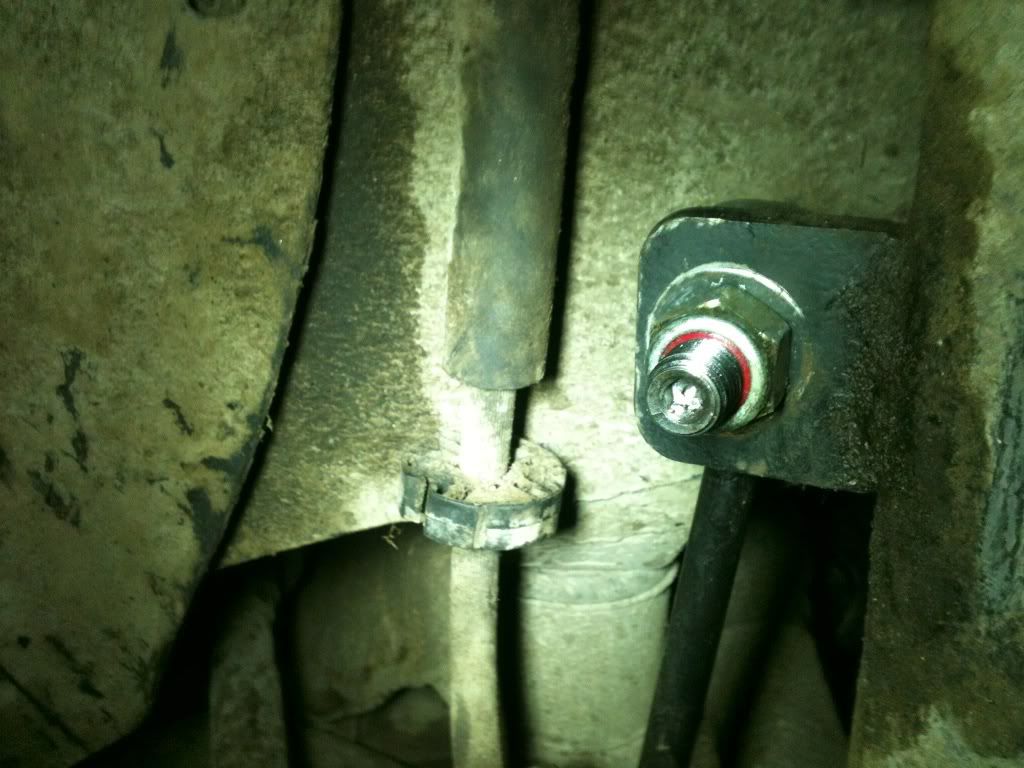
And thats the drop link in place:
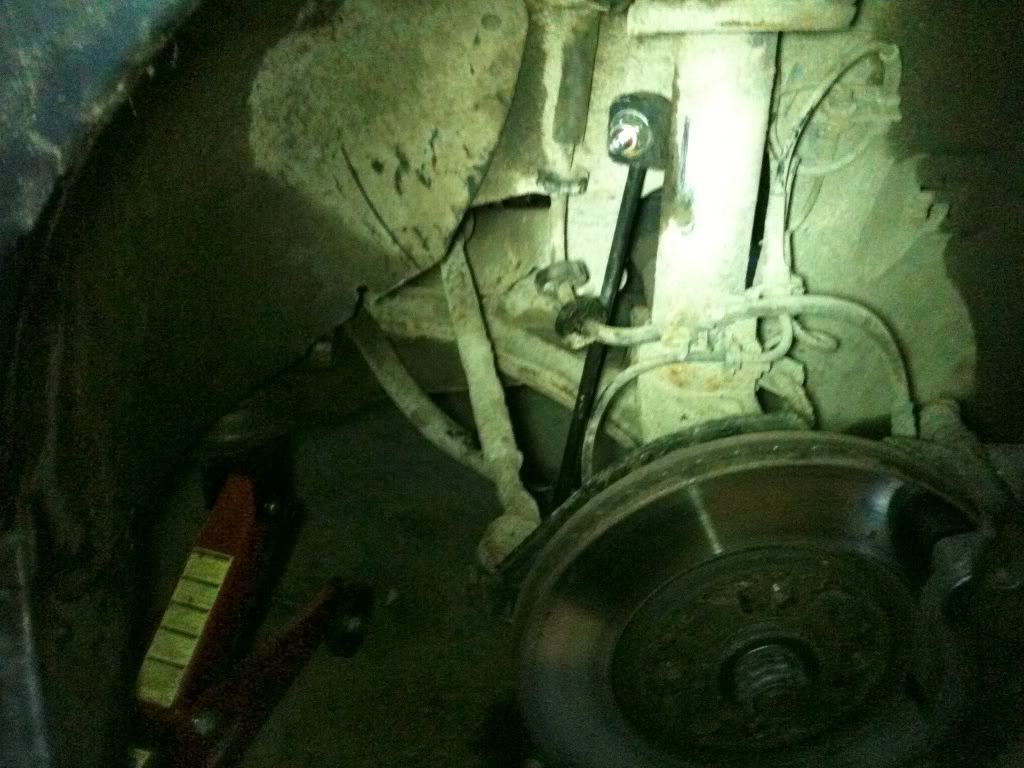
The passenger side is the same, although on my car it wasn't in bad condition:

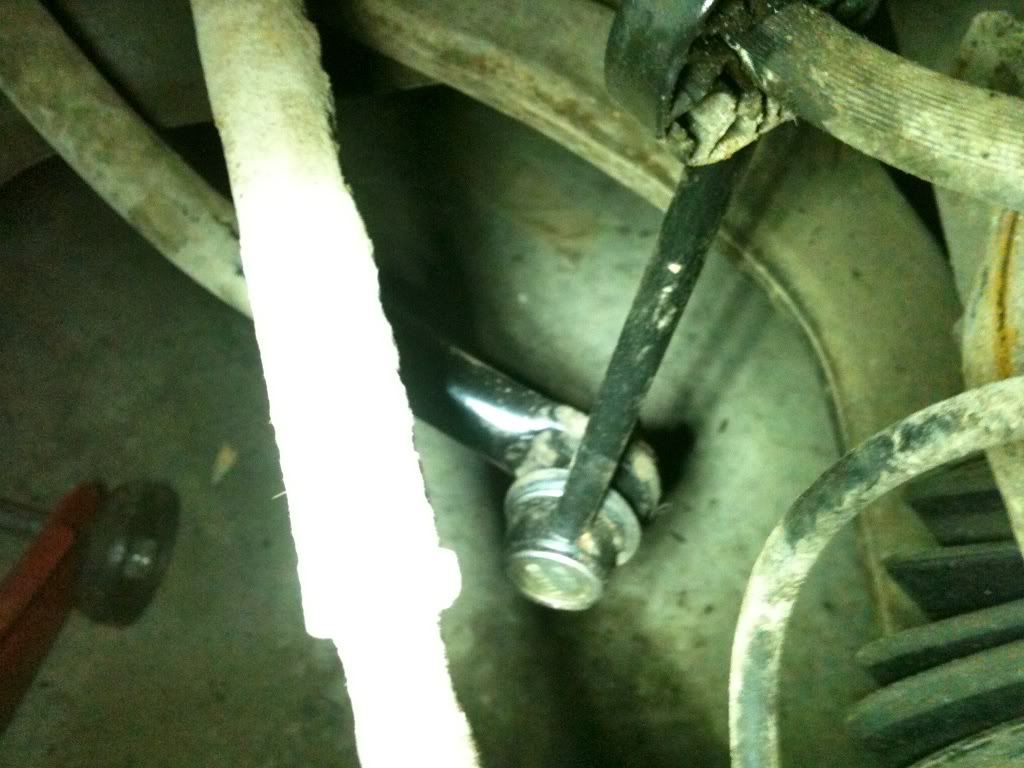
a new one went in anyhow, but here is how the hammer was used to help it fit:
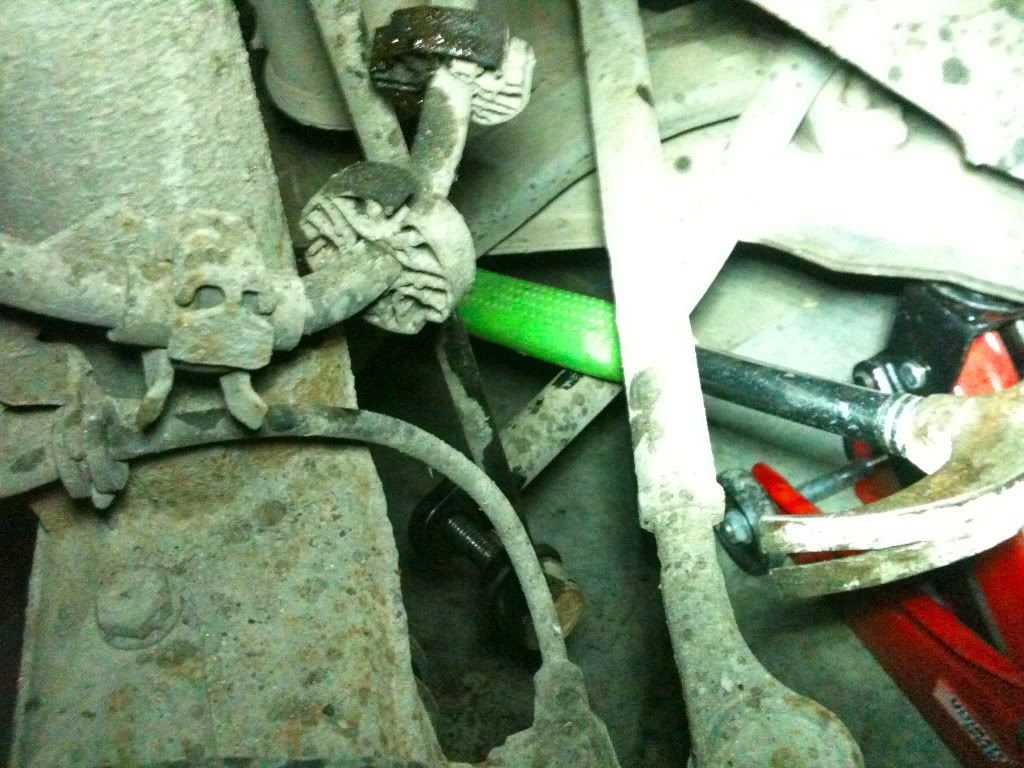
i just pryed down on the bottom arm and it moved to fit over the bolt, and here is the drop link on the other side fitted:
After all that i took the car out on the same road and the drop link noise was gone:
uDXE_q6kPEg
Thats how to replace 406 drop links, i was fed up paying the mechanic £20 every time on top of the price of drop links.
As the 406 seems to have an appetite for them hopefully this guide will be helpful.
Any comments or possible ways to have done this differently would be good.
Before replacing them the car sounded like this:
6c1r869BV3o
Tools Required to do the job:
that lot did it, although if you have an impact wrench its much easier, a ratcheting spanner is probably quicker at putting it back on.
The first thing to do is remove the wheel which is held on with 4 19mm nuts:
I jacked the car up with the lidl car jack which i don't trust so the jack from the boot is also being used as a backup, i couldn't use the jackstands since they are under the suzuki right now:
Here is the drop link:
Then spray WD40 onto the two nuts holding in the drop link:
at this stage giving the nut a few blows with a hammer before loosening it makes it easier to remove it.
Put a 19mm socket onto the nuts and release them:
They dont take long before they start spinning, in which case its best to get a pair of vice grips in the back and clamp the threaded bit while undoing the bolt:
A bit of effort and they should come off, it helps to put more WD40 on while taking the nut off to keep it spinning easy, an impact wrench at this point would probably make it much easier, although i don't know if it would need the vice grip aswell.
Once the two bolts are undone, the drop link should come out, it might fall out or take some persuasion with a hammer, it doesn't really matter if it gets damaged because this part is for the bin, it seemed to be the drivers side one that had the problems, the seals were worn away:
Now get the new drop links:
these are QH part number QLS3256S, Equivilant 863084
Clean the holes the drop links go into with an old rag, then put it in, there doesn't seem to be a left or right, nor is there a top or bottom to the shape of the drop links thats one less thing to worry about, you can choose weather you want to put the bottom end in first or the top it makes no difference really, except the bottom one where it connects you can push it down a bit to help it fit, get it in anyhow and then tighten the nuts.
When tightening them they will spin the same as they did when going in, but i didn't want to use the vice grips that would damage the seal, conveniently there is a hole in the middle that accepts a hex bit or allen key, so i put a hex5 bit on the end of the 1/4 ratchet and tightened the bolts up with a spanner:
a ratchet spanner would be really handy here, the 1/4 ratchet could have tightened it up but i didn't want to break it.
And thats the drop link in place:
The passenger side is the same, although on my car it wasn't in bad condition:
a new one went in anyhow, but here is how the hammer was used to help it fit:
i just pryed down on the bottom arm and it moved to fit over the bolt, and here is the drop link on the other side fitted:
After all that i took the car out on the same road and the drop link noise was gone:
uDXE_q6kPEg
Thats how to replace 406 drop links, i was fed up paying the mechanic £20 every time on top of the price of drop links.
As the 406 seems to have an appetite for them hopefully this guide will be helpful.
Any comments or possible ways to have done this differently would be good.