2. Give yourself room to get the disc off. Either:
2.a. Remove the brake pads as shown here: viewtopic.php?t=6840
OR
2.b. Tie the caliper to the suspension spring, and undo the two bolts holding it on. One is the one at the bottom of the caliper, and light rust coloured in my picture, and the other one is an allen bolt which you get to by removing the cap at the end of the rubber tube you see at the top of the caliper next to the bleed nipple
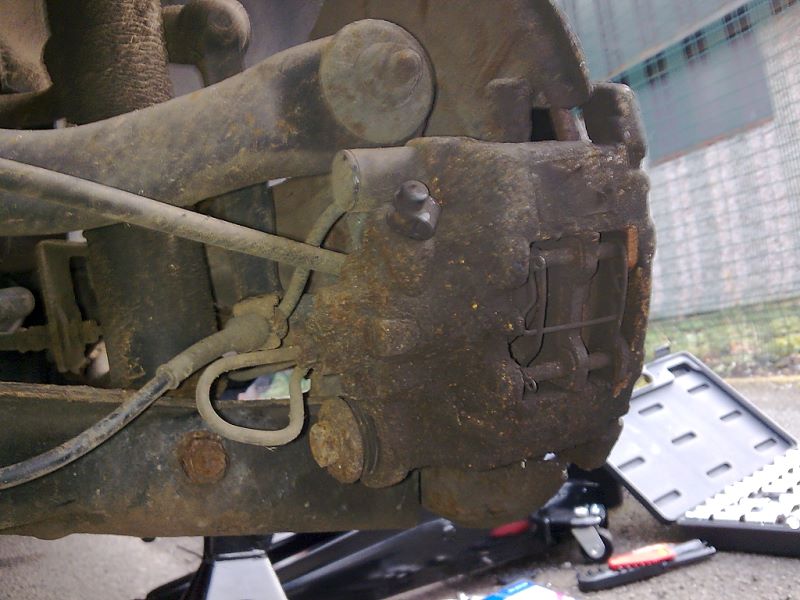
Here's the cap half off:
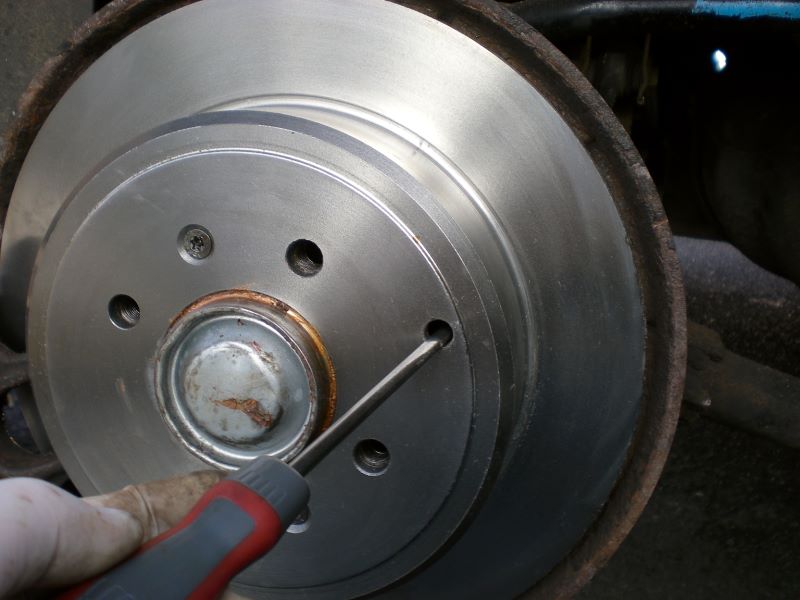
3. Put the handbrake on, then remove the 2 screws holding the brake disc on to the hub. On mine these are torx, but I've seen philips screws used on other 406s.
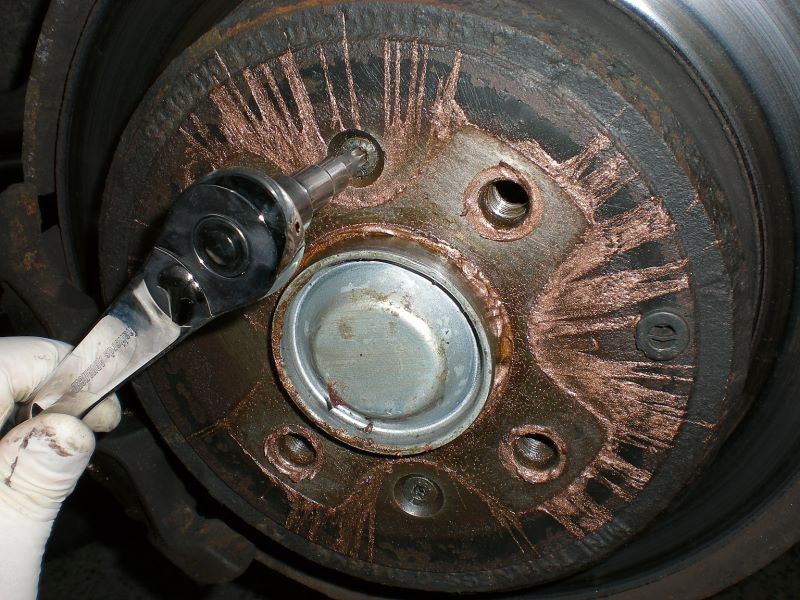
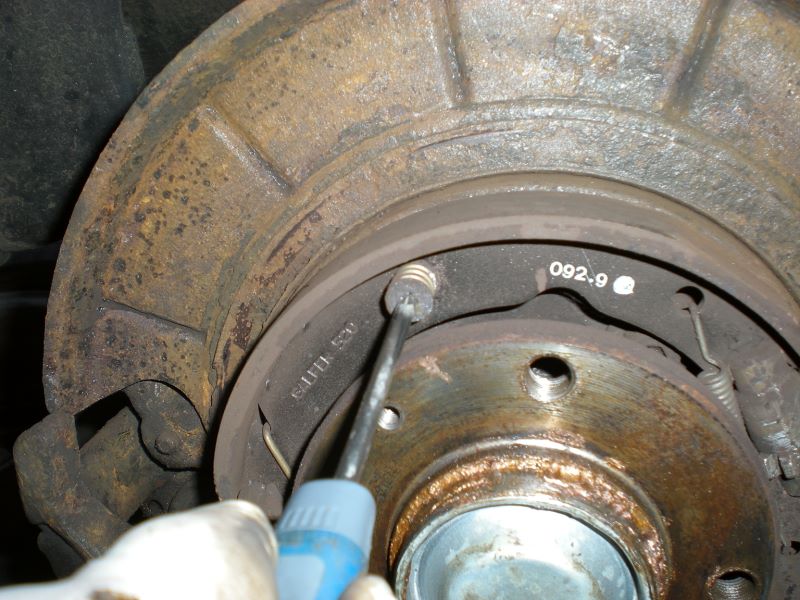
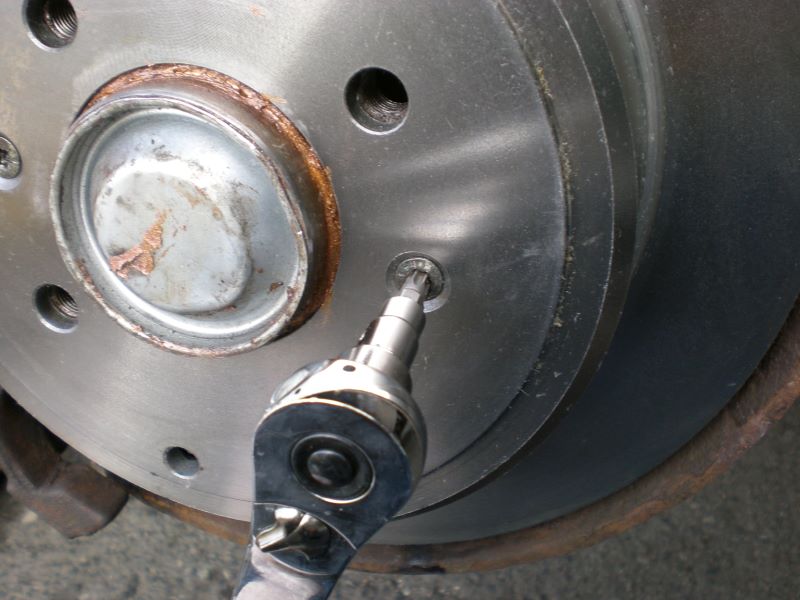
4. Release the handbrake and remove the plug from the adjuster hole. This bit is unfathomably tricky if you've not done the job before, but if the discs are anything but brand new you're going to need to slacken off the adjuster. Line the hole up opposite the caliper then turn it about a bit. Then you'll need to stick a fairly large flat-blade screwdriver in the hole and turn the adjuster until you can't turn it any more. If the disc jams, you're turning it the wrong way
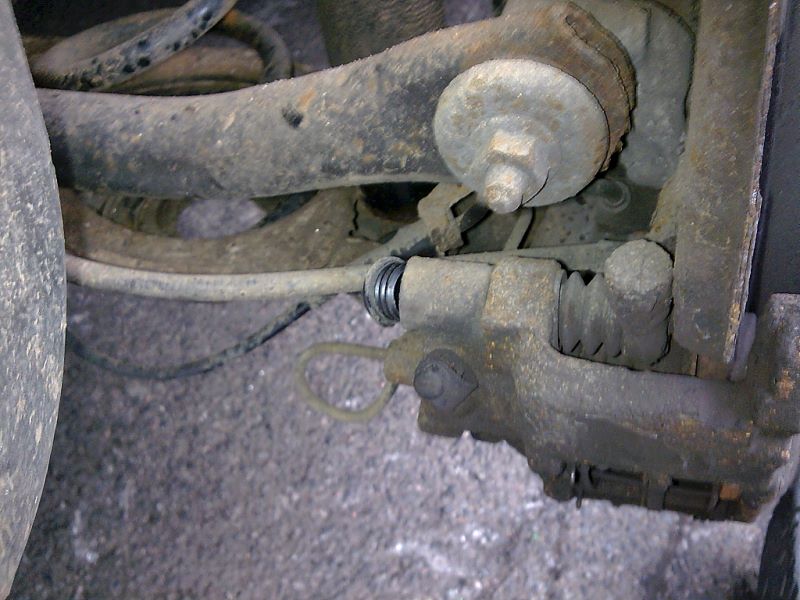
Here's the adjuster plug
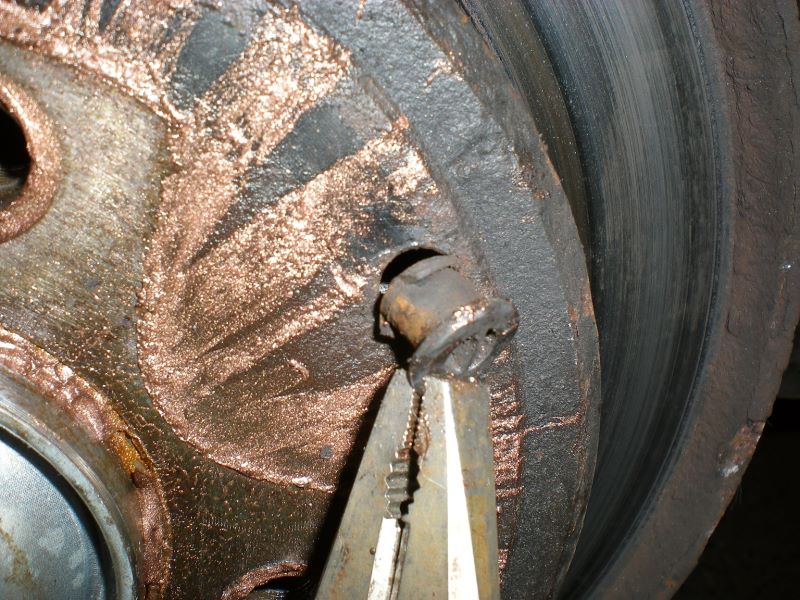
and here's what you want to be lining it up against.
This is the adjuster. The cog going around it is what you need to turn with the screwdriver. It's exceptionally difficult to see, so just go for feel, and be aware that it could be in either orientation
This is how you do it:
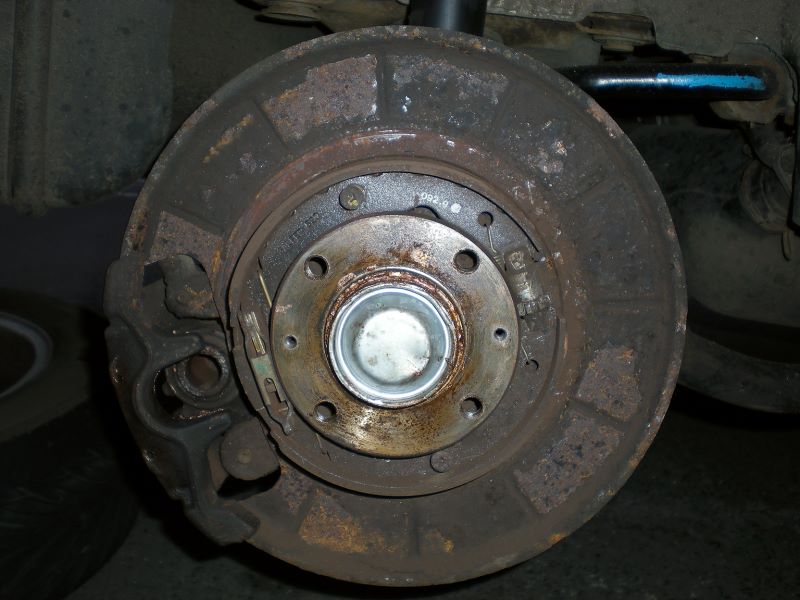
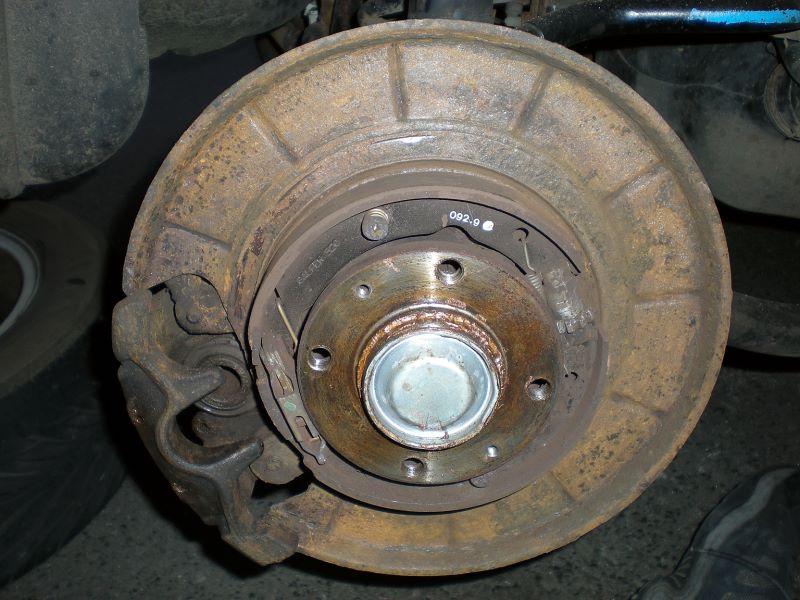
5. Pull the brake disc off. If it's as worn as mine were, you may need to use brute force, but be aware the backplates cost £90 each and likely to be exceptionally rusty. In other words don't break it! Similarly, you may need to give the disc some "persuasion" with a large hammer, but beware of knackering your wheel bearing in doing so! You should be looking at this now:
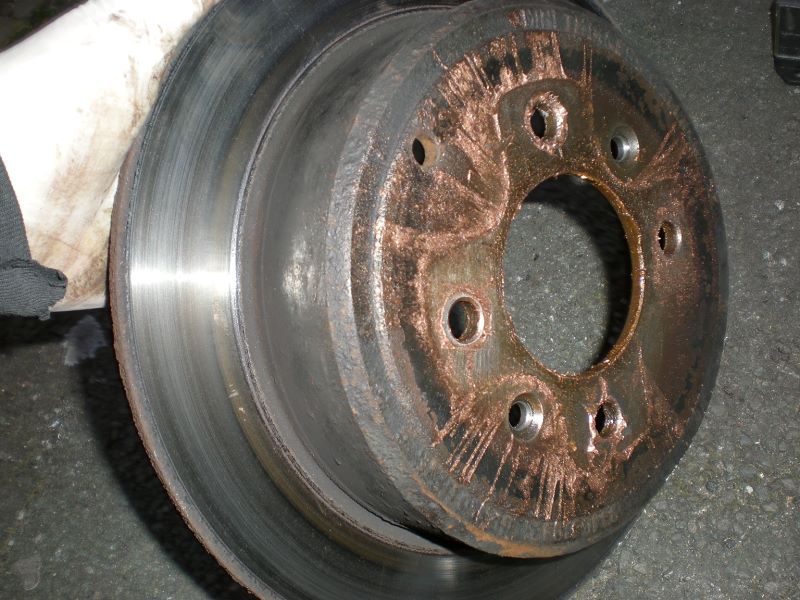
This is one of the discs I removed from mine. A testament to how thorough main dealer servicing and MOT tests are. See, it looks OK from the outside face
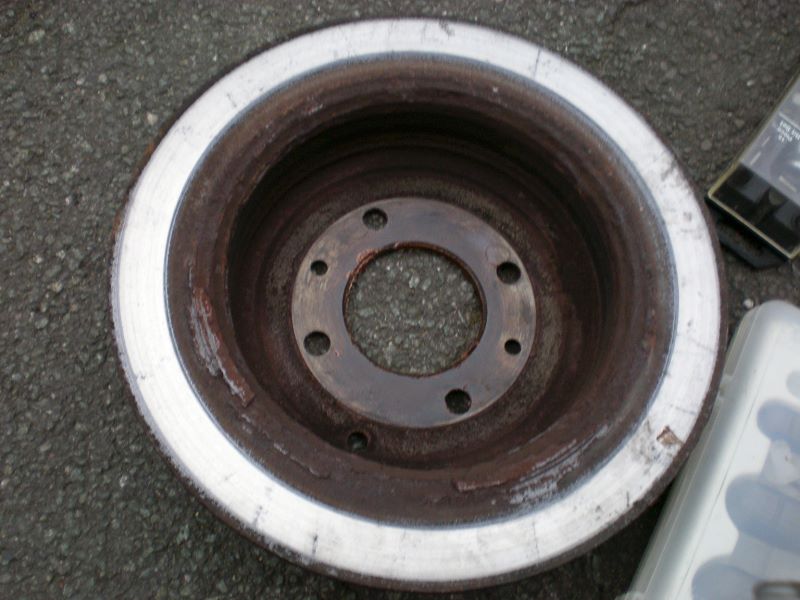
but look inside and it's another story. If the friction surfaces in my picture look 3D that's because they were!
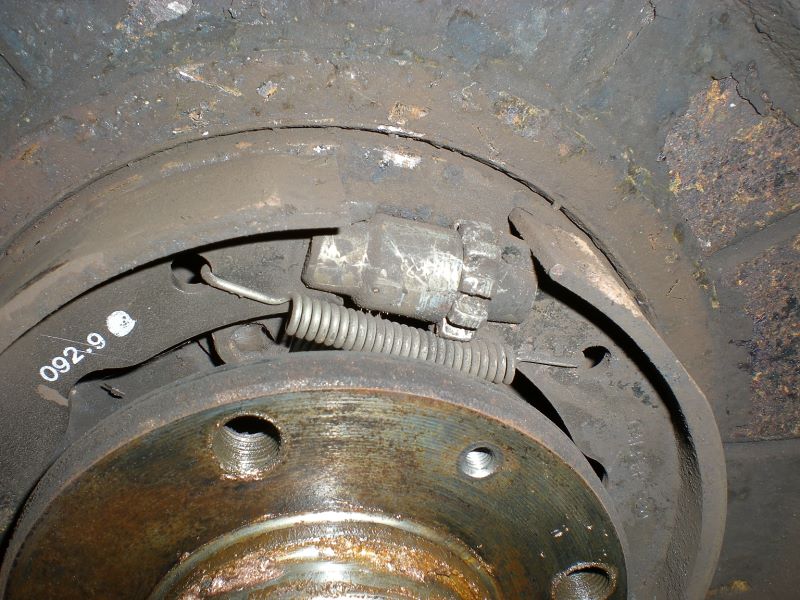
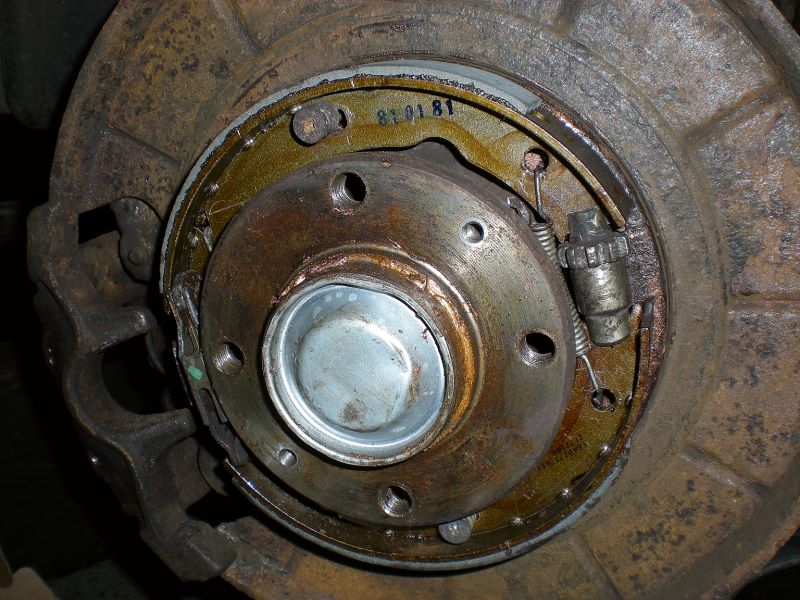
6. Remove the shoes. First thing I do is remove the clips that look like screws. Just push in and turn them 90 degrees in either direction to release them. Don't lose the springs
The method I recommend is to use a screwdriver to remove the top end of the spring by the idler first. Don't waste too much time being nice with it, it'll just hurt more. Once the spring is free and safe, pull the shoes apart and take the idler out. Then have a go at the other spring. Watch out because it's under a LOT of tension.
7. Remove and clean the handbrake actuator. You want this as clean as you can get it, and make sure it's well lubricated with copper slip.

8. Clean the backplate. Take off ALL the swollen rusty bits, especially from the seam just outside the raised area where the shoes sit. If you need to, peel back the top layer and hammer out the rust before hammering the top layer back. Give it a good going-over with a wire brush. Sorry, no pics of this. Rub a very thin layer of copper slip along the seam and on the parts where the handbrake components sit. Clean and lubricate the adjuster too - it pulls apart into 2 halves.
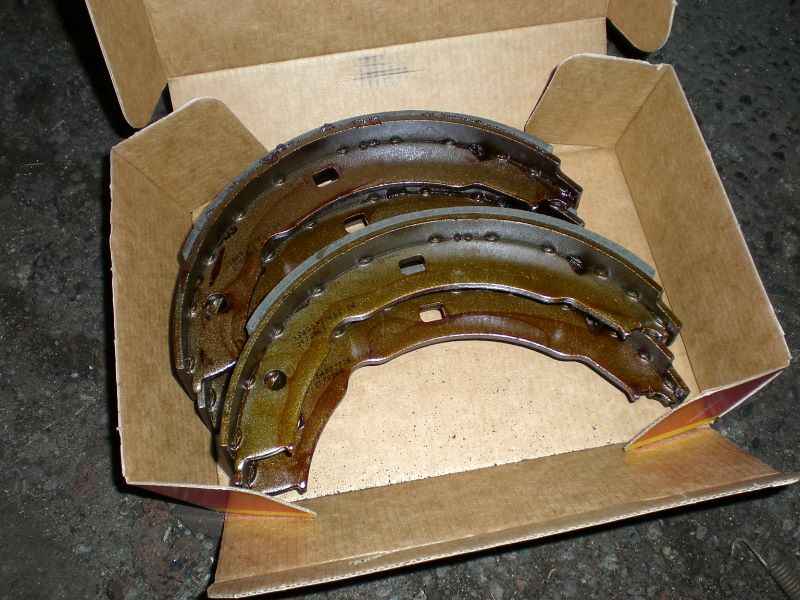
9. Now you need to get the new components on. This is not easy and takes me well over an hour per side. Latex gloves are definitely recommended here, as they've saved me from impaking my fingers a good few times! The method I've found to work is as follows:
a) Put the shoes on the floor and link them with the large spring at the actuator end.
b) Fit the actuator between them
c) Put it on the car, hooking the handbrake cable into the actuator
d) Fit the adjuster in
e) Put the screw clip things in the shoes
f) (using excessive force and lots of obscenities) get the actuator back into position
f) (using excessive force, lots more obscenities) hook the adjuster-end spring in, trying not to let it slip out behind the shoe
g) Have a ciggie, coffee, tea, dance... You've earned it!
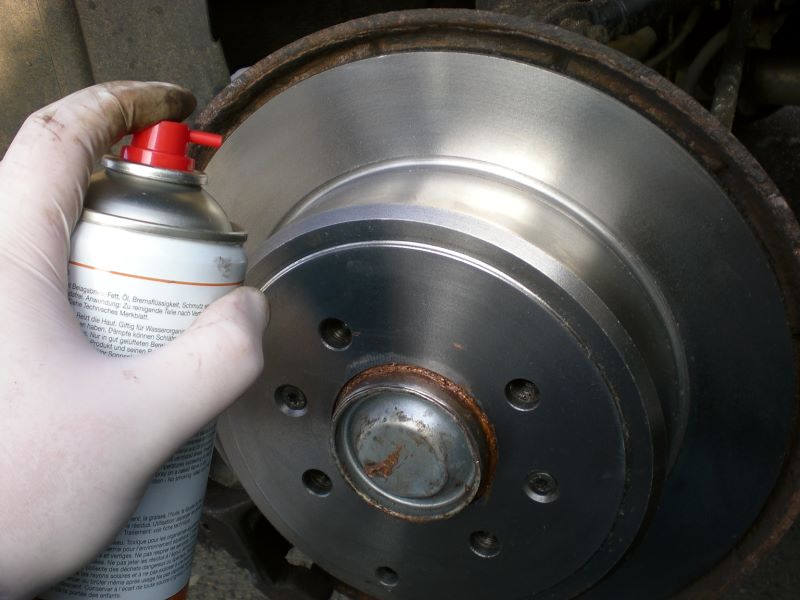
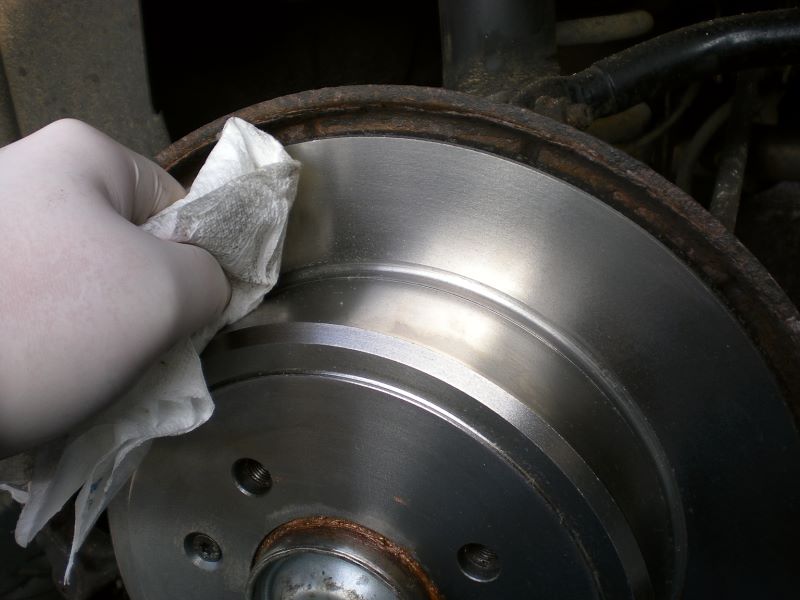
10. Now you want to get your new stuff clean. Using brake cleaner and some clean kitchen roll, clean off the shoe friction surfaces you've just greased up in your attempt to get them on the car. Then, take the stuff to the inside of your new disc.
11. Put a thin amount of copper slip on the wheel hub, trying to avoid the 2 screw holes that hold the disc to it. This is so you don't have the fun of the disc being seized to it next time it needs to come off. Now put the disc on being careful not to touch the inside, and trying to have it lined up wit the screw holes. Screw it on. I put a tiny amount of thread locker on the threads
12. Clean the outside surface of the disc
13. Either re-fit the caliper if you removed it earlier, or replace the pads, pins and clips

14. Shove your wheel back on. Put a thin film of copper slip on the contact face, so the wheel doesn't seize on. You don't want to be caught at the side of the road with a flat you can't change!
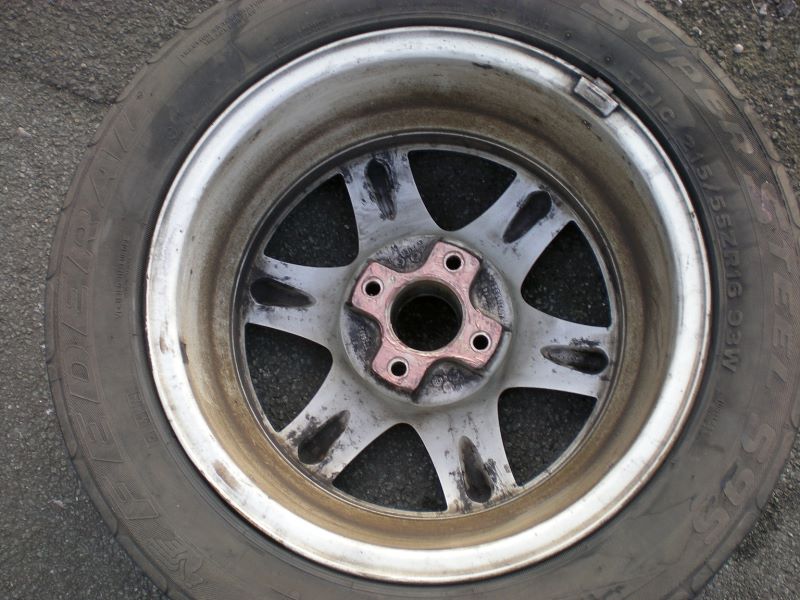
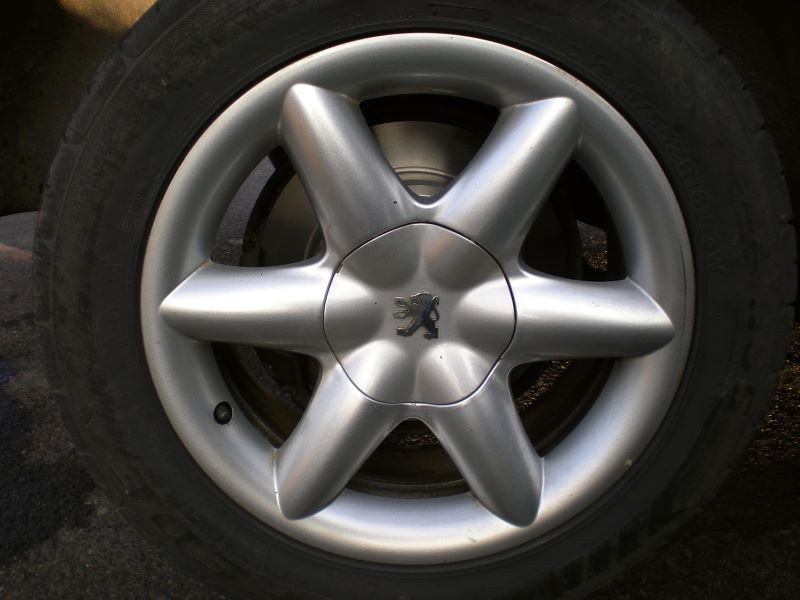
15. Admire your handiwork and grab a beer!